Note:
1. More Free Patterns can be seen along the sidebar (on right side),
or you can use the Free Patterns label to view all posts.
2. Free Pseudo-Patterns or Pattern Outlines can be found using the Free Pseudo-Patterns label.
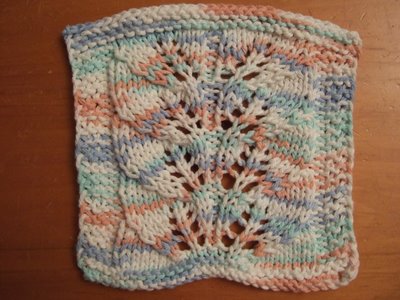
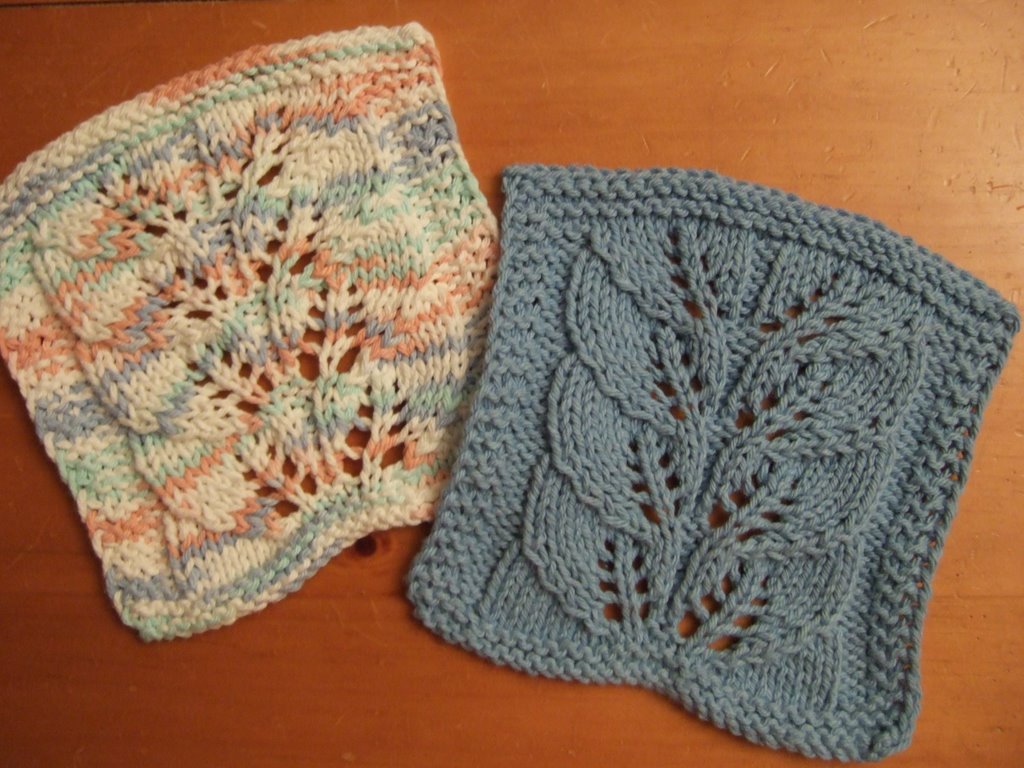
I designed this Twin Leaf Lace Cloth for the
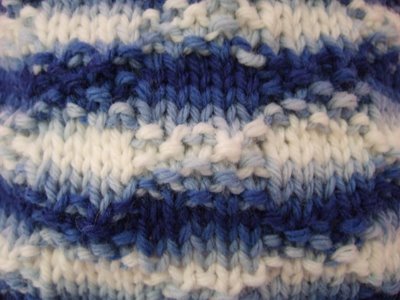
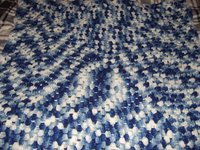
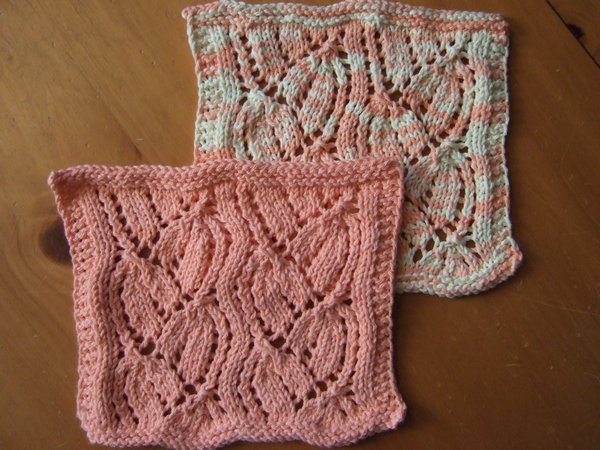
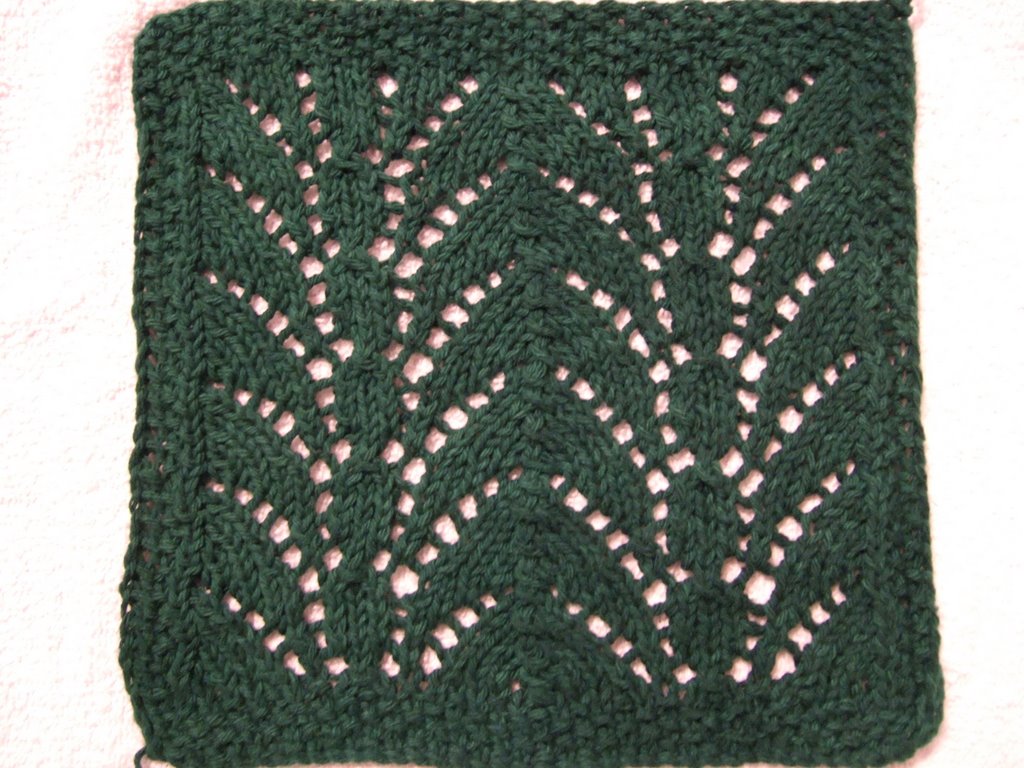
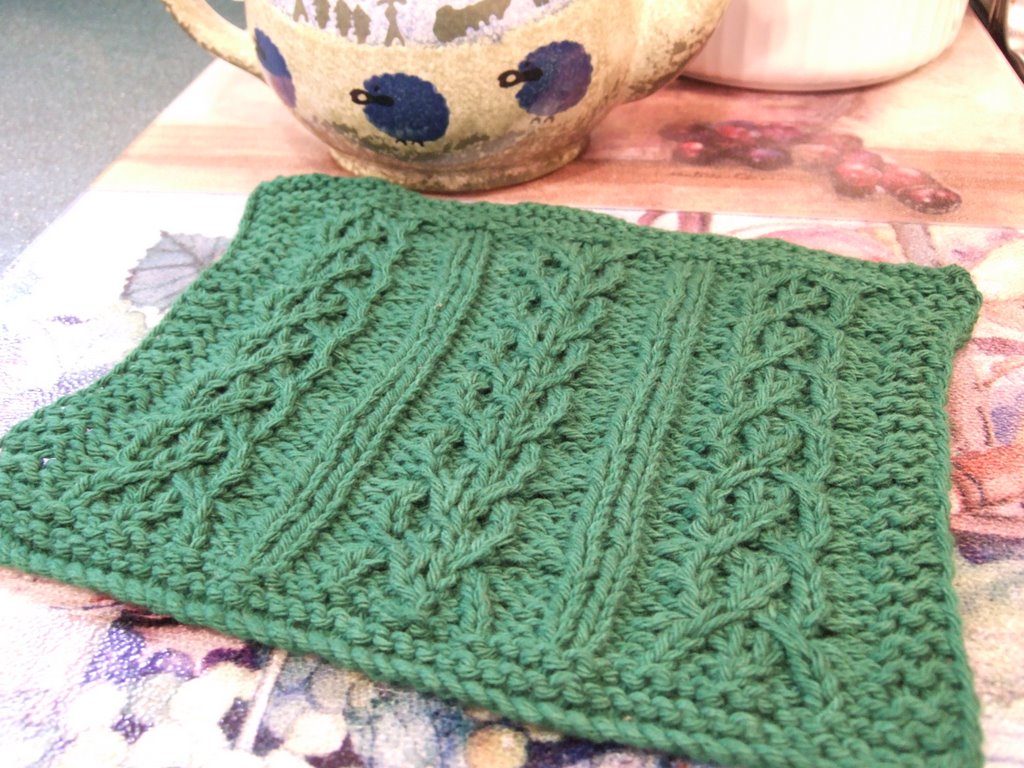
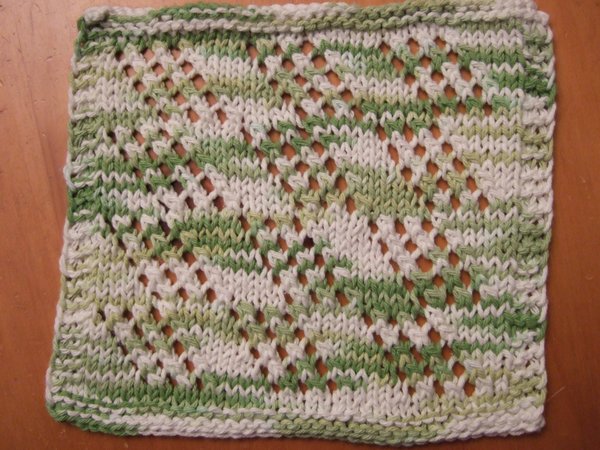
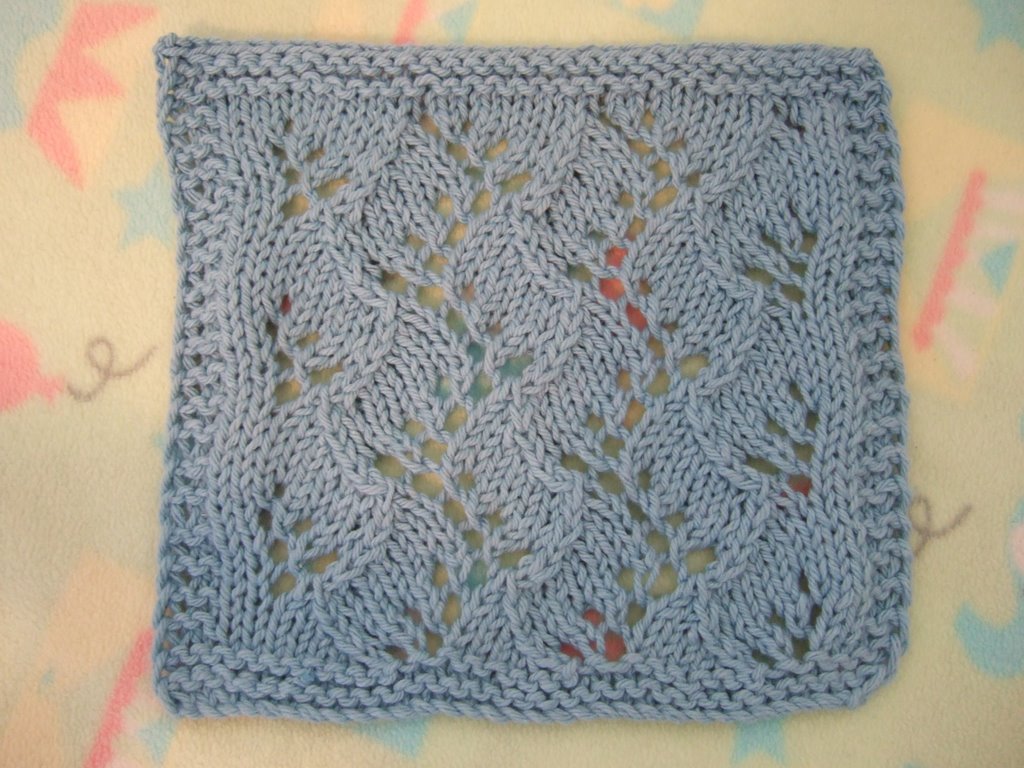
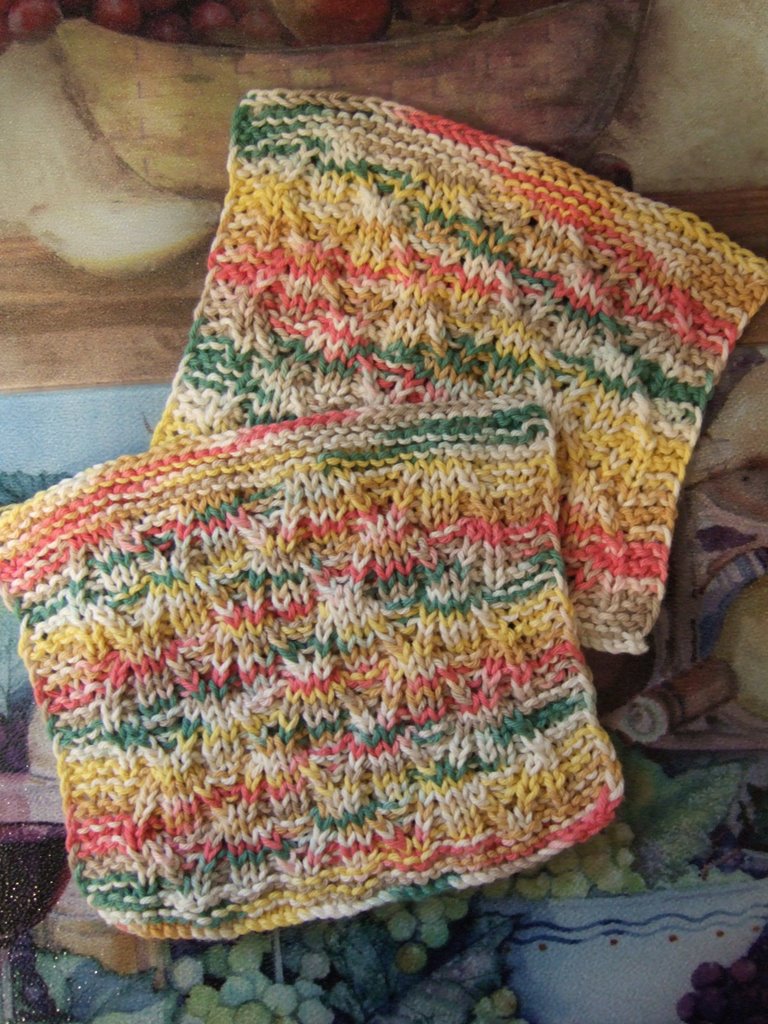
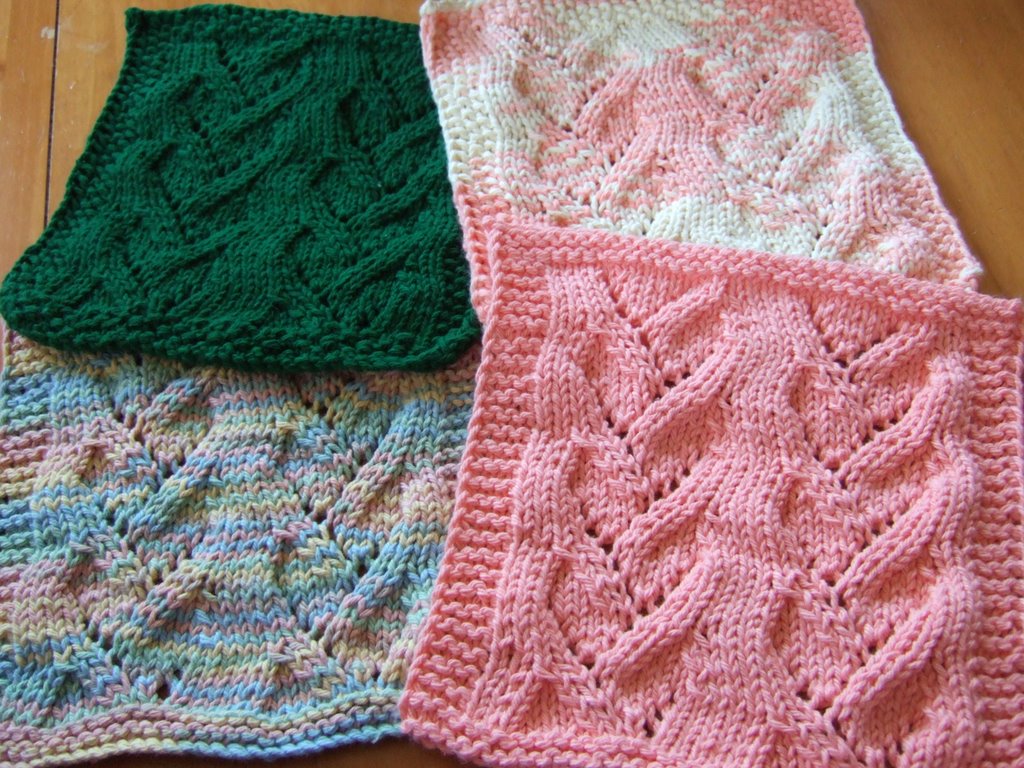
MDKAL Q4 Exchange. Since the cloths are on the small side (about 6 1/2 inches square after blocking), I made two for Cheri (my exchange partner). This is my first time participating in the dishcloth exchange. Here is a photo of both cloths. I still can't get the colors to come out right in my photos. The picture above was taken during the day, and the pictures below were taken at night. The nighttime shots always look much darker/duller, but the blue cloth isn't quite as bright as the picture above. I usually take my photos at night, after M has gone to bed, it's just easier for me that way, otherwise she tries to grab my knitting before I take my photos, or she's leaning/pushing up against me and I get more unfocused/blurry pictures. I made one cloth in a solid blue, and I was aiming for a variegated to "go" with the solid one. The variegated one has some blue in it but I couldn't get an exact match.
Stitches used in this cloth include:
Garter Stitch, BW1 pg 10
Twin Leaf Panel, BW2 pg 235
If you can do my
Vine Lace Cloth, then this one just requires a smidgen more concentration to knit up. If you're new to lace knitting, see my tips below.
Please email me if you would like your photo and a link to your blog (if you have one) to appear in My Readers' Gallery. Twin Leaf Lace Cloth
© Designed by S.M. Kahn, October 2006
Smariek Knits -=<>=-
http://smariek.blogspot.comPlease look at the Notes at the end of the pattern before starting.
Using
WW cotton yarn and
US7 (4.5mm) needles, cast on 32 stitches.
Knit 4 rows border.
Row 1 : B3, K2, P10,
K2, P10, K2, B3
Row 2 : B3, P2, K6, /2, YO, K1, YO,
P2, YO, K1, YO, 2\, K6, P2, B3
Row 3 : B3, K2, P10,
K2, P10, K2, B3
Row 4 : B3, P2, K4, /2, K1, YO, K1, YO, K1,
P2, K1, YO, K1, YO, K1, 2\, K4, P2, B3
Row 5 : B3, K2, P10,
K2, P10, K2, B3
Row 6 : B3, P2, K2, /2, K2, YO, K1, YO, K2,
P2, K2, YO, K1, YO, K2, 2\, K2, P2, B3
Row 7 : B3, K2, P10,
K2, P10, K2, B3
Row 8 : B3, P2, /2, K3, YO, K1, YO, K3,
P2, K3, YO, K1, YO, K3, 2\, P2, B3
Repeat Rows 1 through 8 three more times.
Work one more row : B3, K2, P10, K2, P10, K2, B3
Knit 4 rows border.
Bind off and weave in ends.
Notes:
B3 = 3 stitch side border of your choice (I used K3 for my border in both cloths above)
SSK = slip one stitch, slip another stitch, knit these two slipped stitches together
/2 = Right slanting (double) decrease as follows: SSK, then slip the NEXT stitch over the stitch just made by moving stitches from needle to needle. ----- Viz. Slip 1 stitch. Slip another stitch. Knit these 2 (slipped) stitches together. Move this resulting stitch to the left needle. Now use the right needle to pass the NEXT stitch over it (the stitch you just moved to the left needle). Now slip the stitch back to the right needle. ----- See below for further clarification & walk through if this still does not make sense.
2\ = Left slanting (double) decrease as follows: Slip 1 stitch, knit 2 stitches together, pass slipped stitch over. (This is exactly the same as the SK2TP notation I have used in my other patterns)
Tips:
Mind your yarn overs, especially the 2nd YO on Row 2 (the one just before P2). This is an easy one to screw up if you're not paying attention.
Get a feel for the 2 Purl stitches in the center of the pattern (which happen to be 2 Knit stitches in the center of the wrong side). While knitting across your row, make sure that your center 2 stitches are actually where they should be. If it seems off, stop and look back on your knitting to see where you went wrong. I have
bold-ed the center 2 stitches in the pattern to help you see the two halves of the rows. I hope this helps. :-)
When doing odd rows (wrong side) :
- If you are working the P10 section and run into the center 2 Knit stitches before you have finished Purling 10 (in other words, you are short 1 or more stitches), you most likely missed one (or more) YOs from the previous even row. Figure out where that is, tink back to that section (still on the even side), and pick up a strand of yarn from the row below & wrap it around the left needle to insert that missing YO. If you don't feel comfortable picking up the strand to insert the YO, just tink back to the row before and do it the normal way.
- If you are working the P10 section past the 2 center stitches and run into the P2, B3 section before you are done Purling 10 stitches (in other words, you are short one or more stitches), then you most likely missed one (or more) YOs from the previous even row. You'll need to figure it out, see tip in paragraph above.
- If you seem to have 1 extra stitch before the 2 center stitches, then you might have forgotten the "pass over" part of the 2\ instruction from the previous row.
When doing even rows (right side) :
- If you seem to have 1 extra stitch before the 2 center stitches, then you might have forgetten the "pass NEXT stitch over" part of the /2 instruction from the previous row.
Gosh, I hope I covered most of the "pitfalls" of knitting this cloth.
Some additional notes added 11/20/06 to clarify the /2 and 2\ steps in the pattern:
I've discovered that some people are having difficulties with the
/2 and
2\ notation I have used in this pattern. Where did
that come from? Well, I adopted it from Jackie Erickson-Schweitzer's
Elegantly Simple Baby Blanket pattern (which I
made a while back) where she used
/3 and
3\ for her right & left triple decreases. The
/2 and
/3 are worked exactly the same, except that
/2 is worked over 3 stitches, and
/3 is worked over 4 stitches. Similarly with
2\ and
3\. I thought it would be easier to use her shorthand, rather than writing it all out. I guess choosing to adopt Jackie Erickson-Schweitzer's abbreviation was not such a great idea, huh?
Let's walk through
/2 together. You do the following for
/2:
1. Slip 1 stitch knitwise from the left needle.
2. Slip 1 stitch knitwise from the left needle. (Now you have 2 slipped stitches on your right needle)
3. Knit these 2 slipped stitches together. (Steps 1 through 3 completes the "SSK" part. If you still don't understand how to do "SSK", you can go to KnittingHelp.Com and look at a video which will show you how to do this. Here's the link to their
abbreviations page, scroll down to "ssk" on the right side column and click on the video icon.)
4. Move the resulting stitch from step 3 to the left needle.
5. Now use your right needle to pass the NEXT stitch
(the one to the left of the stitch you created from step 3) on your left needle over the stitch you just moved to your left needle
(the stitch you created from step 3).
6. Now slip the stitch from your left needle back to your right needle.
Voilà! You're done! Clear as mud?
Let's walk through
2\ together. You do the following for
2\:
1. Slip 1 stitch from your left needle to your right needle.
2. Knit 2 stitches together from your left needle.
3. Pass the slipped stitch
(from step 1) over the stitch you created in step 2.
Voilà, c'est fini. I have since discovered that what I have been calling SK2TP is more commonly known as SK2P. Sorry about the confusion, I'm a newbie knitter and didn't know this. You can find a video
here that will show you how to do this. Scroll down on the right side column until you find "SK2P" and then click on the video icon.
I hope this helps....
.
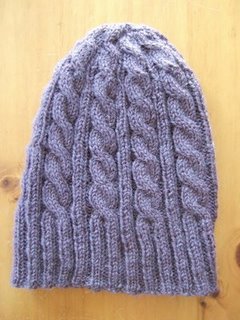
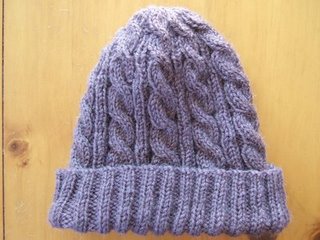
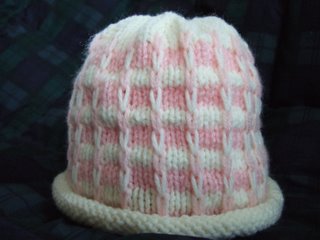
 I finally knit a hat for myself. And it fits nicely, a little loose, with enough extra brim to pull it down to cover my ears more when it's colder. I finished it this morning, weaved in the ends (yes, I'm trying to be good about doing this right after I finish something, instead of letting it sit around for weeks), and wore it when M & I took a little walk around the neighborhood. I put M in her stroller, and she did something she seldom does in the stroller ... she fell asleep!!! I got a half hour nap out of her. Now our day is a bit screwed up with her nap happening before lunch. What am I going to do with her for the rest of the day?