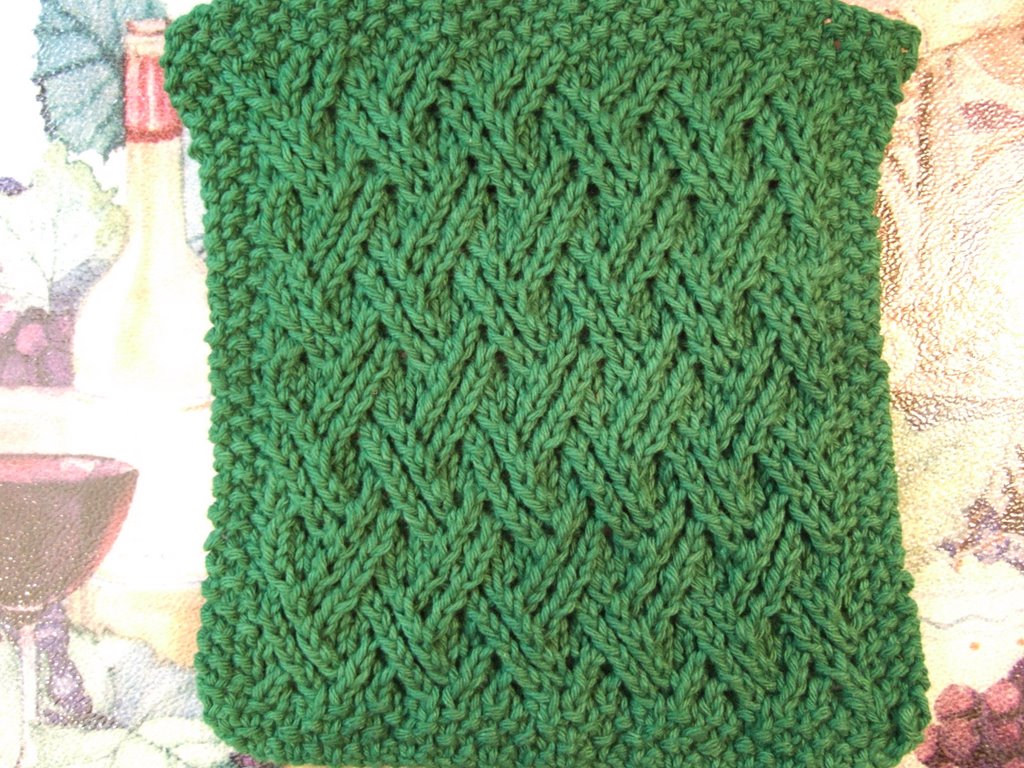
Embossed Turtle
Note:
1. More Free Patterns can be seen along the sidebar (on right side),
or you can use the Free Patterns label to view all posts.
2. Free Pseudo-Patterns or Pattern Outlines can be found using the Free Pseudo-Patterns label.
1. More Free Patterns can be seen along the sidebar (on right side),
or you can use the Free Patterns label to view all posts.
2. Free Pseudo-Patterns or Pattern Outlines can be found using the Free Pseudo-Patterns label.

Stitches used in this cloth include:
Reverse Stockinette Stitch, MT pg 4
Seed Stitch, BW1 pg 11
The Turtle, BW3 pg 128

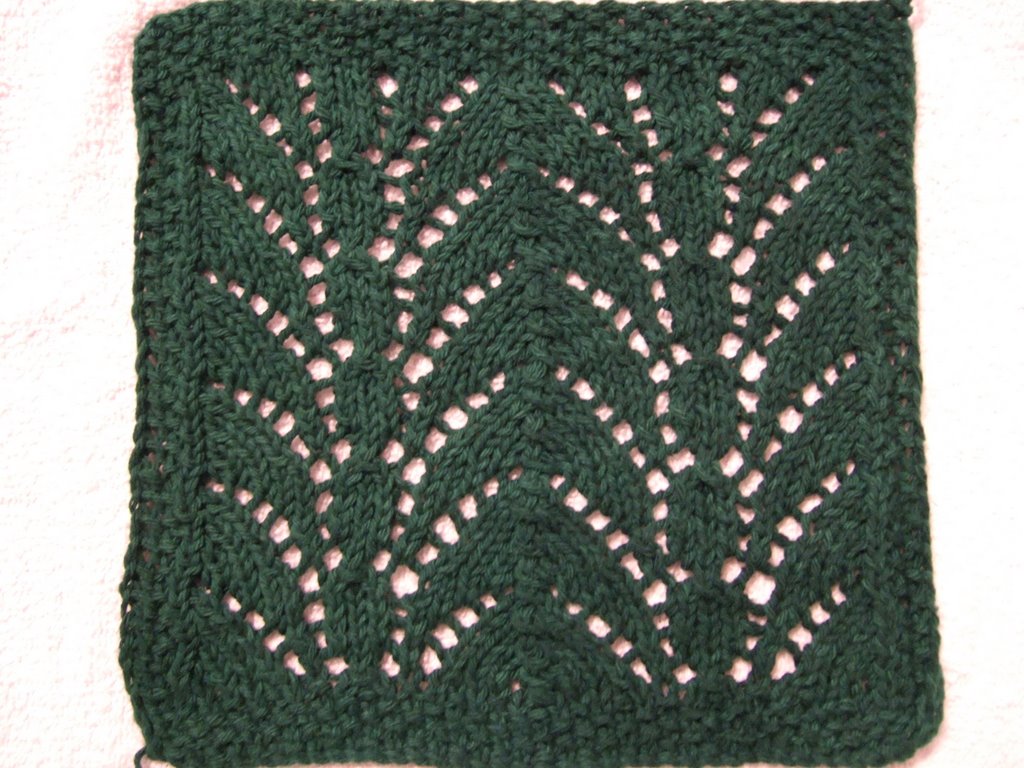
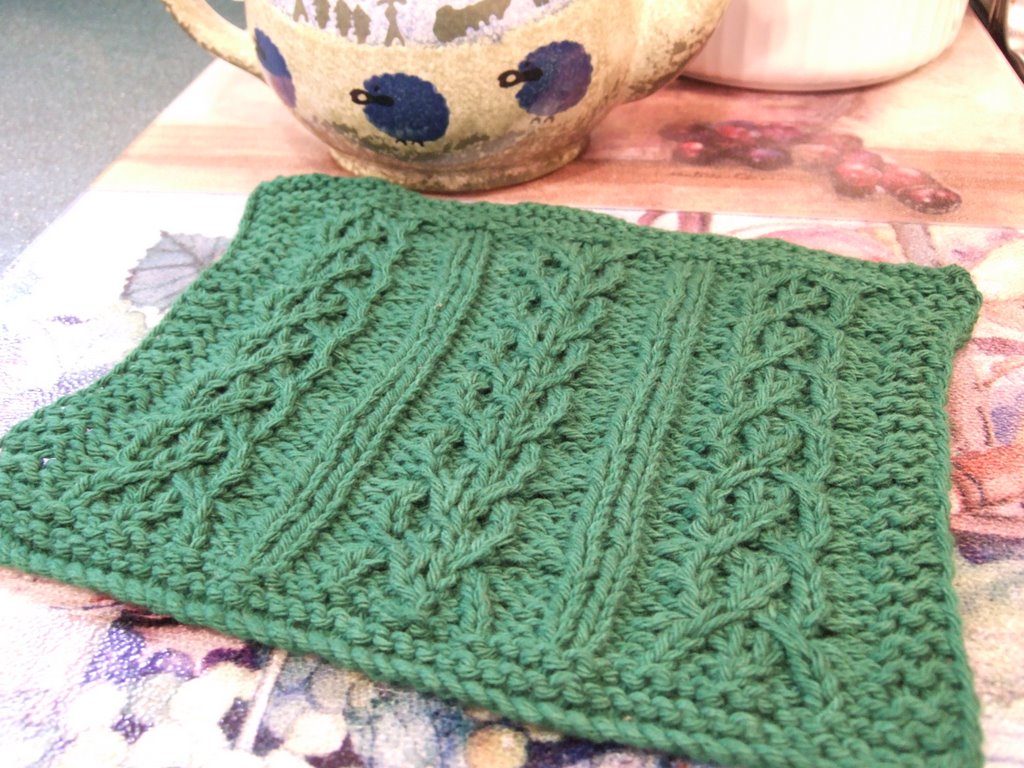
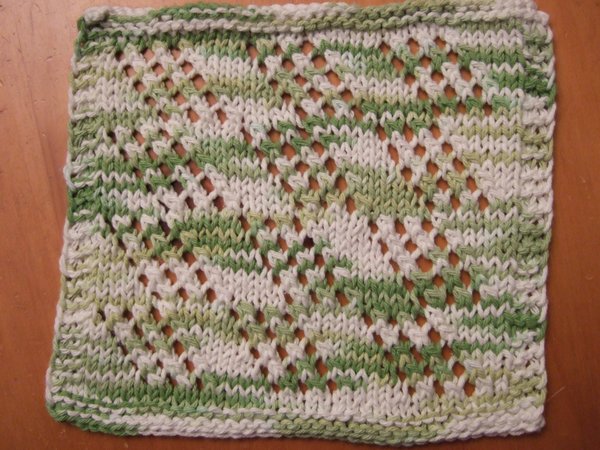
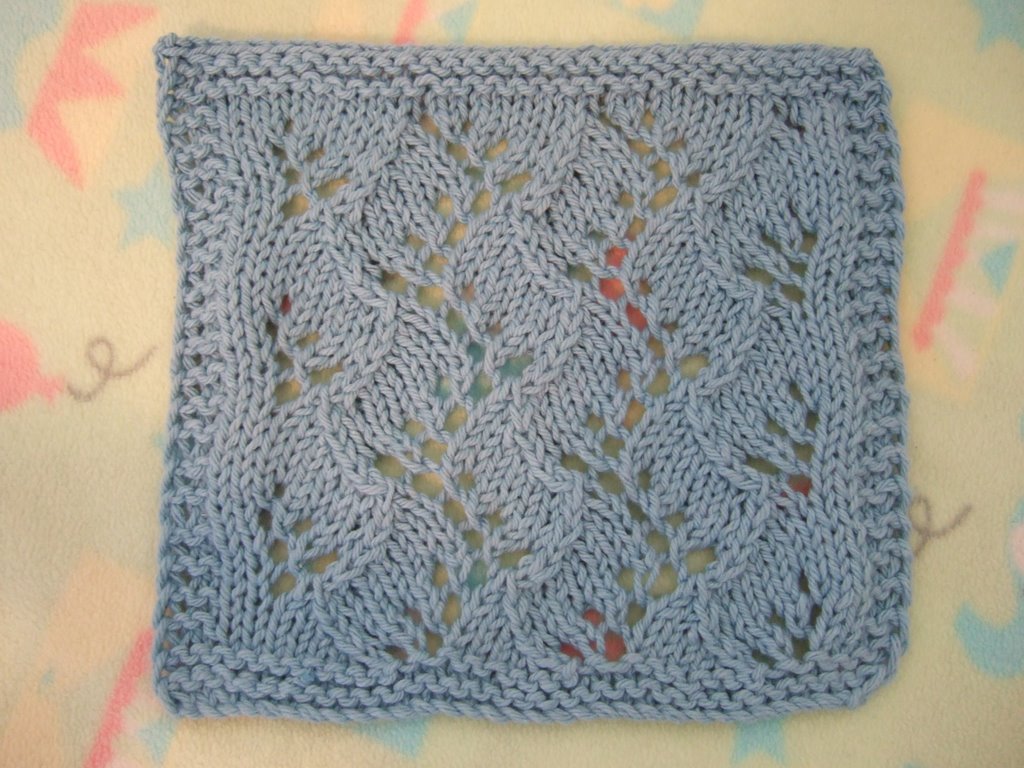
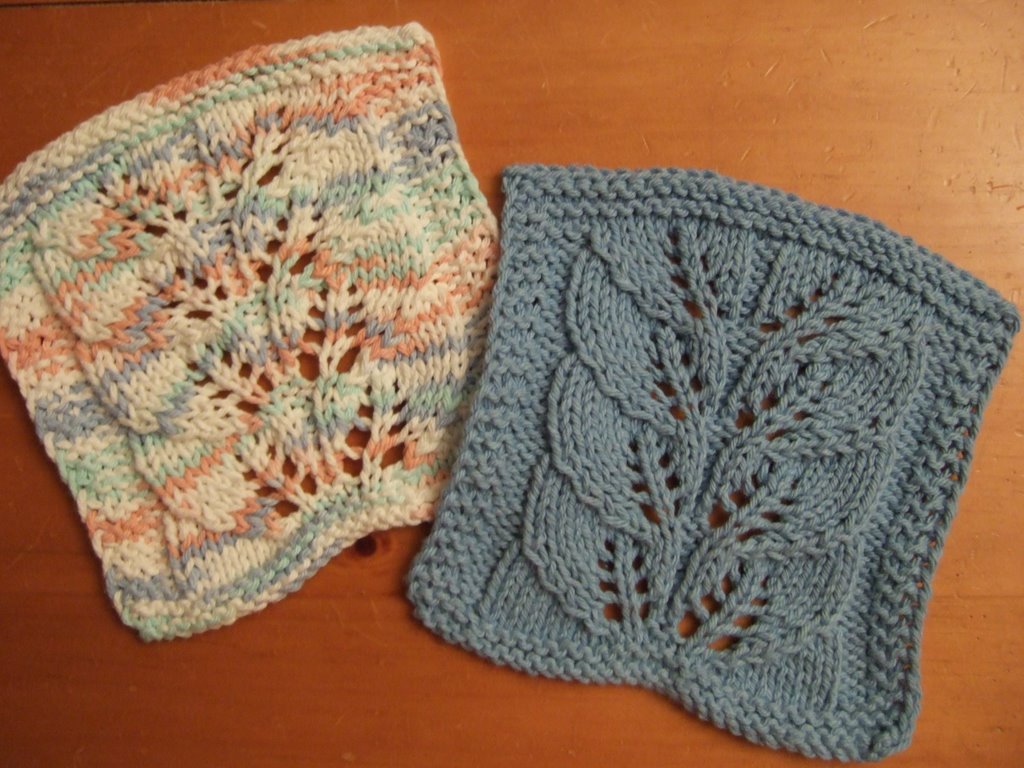
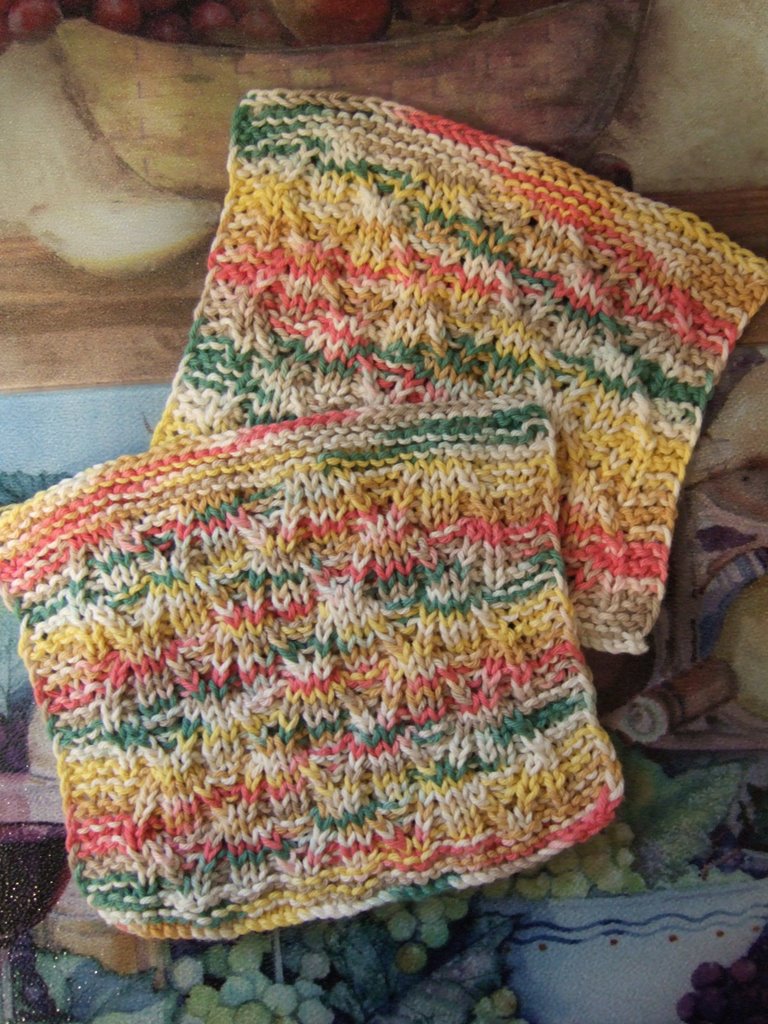
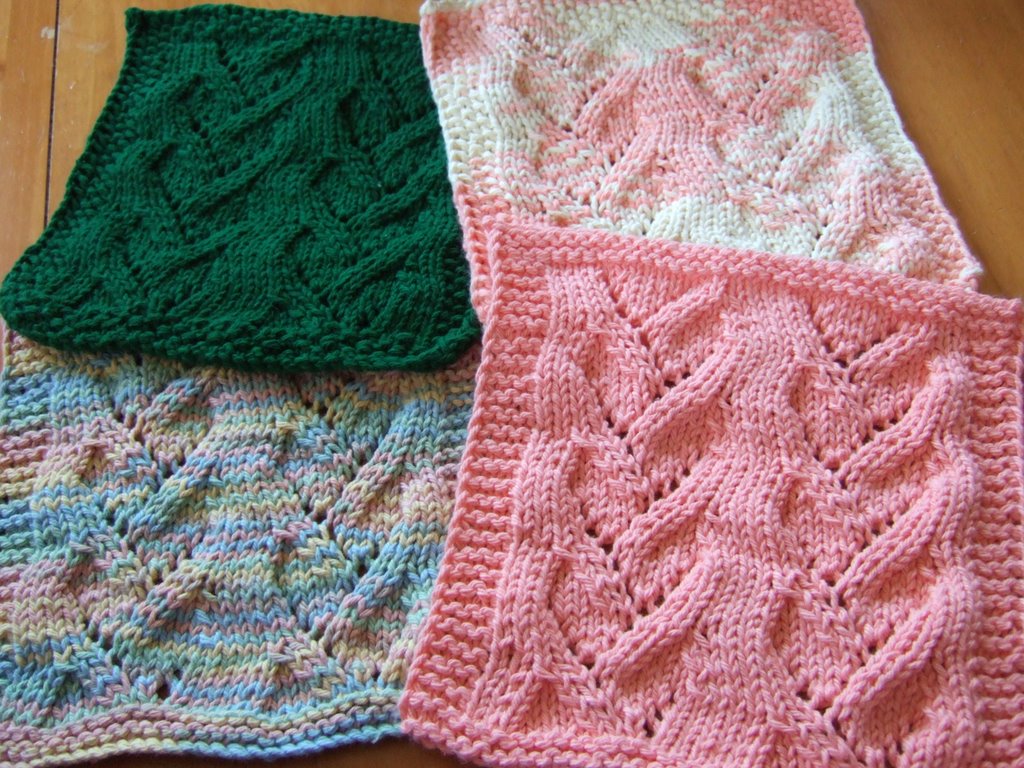
Please email me if you would like your photo and a link to your blog (if you have one) to appear in My Readers' Gallery.

Embossed Turtle Cloth
© Designed by S.M. Kahn, Feb 2007
Smariek Knits -=<>=- http://smariek.blogspot.com
Please read "Notes" section at the bottom before starting, particularly the steps for M1, M1F, M1P, M2, FC, FC2, BC2, FC3, SK2TP, S2TK1P.
Using WW kitchen cotton and US7 (4.5mm) needles, cast on 31 stitches.
Knit 4 rows Seed Stitch border.
Row 1 (WS): B3, K25, B3
Row 2 (RS): B3, P25, B3
Row 3: B3, K25, B3
Row 4: B3, P7, M1F, M1, P10, M1F, M1, P6, B3
Row 5: B3, K7, P2, K6, P1-b, K4, P2, K7, B3
Row 6: B3, P7, K2, P4, FC, P5, K2, P7, B3
Row 7: B3, K7, P2, K5, P1-b, K5, P2, K7, B3
Row 8: B3, P7, K2, P5, K1-b, P5, K2, P7, B3
Row 9: B3, K7, P2, K5, P1-b, K5, P2, K7, B3
Row 10: B3, P7, FC2, P3, M1F, M2, M1F, P3, BC2, P7, B3
Row 11: B3, K9, P2, K3, P5, K3, P2, K9, B3
Row 12: B3, P9, FC2, K2Tog, M1F, K1, M2, K1, M1F, SSK, BC2, P9, B3
Row 13: B3, K11, P1, P2tog-b, K1, P5, K1, P2Tog, P1, K11, B3
Row 14: B3, P11, K2Tog, P1, K1, M1F, K1, M2, K1, M1F, K1, P1, SSK, P11, B3
Row 15: B3, K11, (P1, K1)x2, P5, (K1, P1)x2, K11, B3
Row 16: B3, P9, P2Tog, (K1, P1)x2, K1, M1F, K1, M2, K1, M1F, (K1, P1)x2, K1, P2Tog, P9, B3
Row 17: B3, K10, (P1, K1)x3, P5, (K1, P1)x3, K10, B3
Row 18: B3, P8, P2Tog, (K1, P1)x3, K1, (M1F, K1)x4, (P1, K1)x3, P2Tog, P8, B3
Row 19: B3, K9, (P1, K1)x11, K8, B3
Row 20: B3, P9, (K1, P1)x11, P8, B3
Row 21: B3, K9, (P1, K1)x11, K8, B3
Row 22: B3, P9, (K1, P1)x11, P8, B3
Row 23: B3, K9, (P1, K1)x11, K8, B3
Row 24: B3, P9, (K1, P1)x11, P8, B3
Row 25: B3, K9, (P1, K1)x4, P2Tog, P1, P2Tog-b, (K1, P1)x4, K9, B3
Row 26: B3, P9, M1F, (K1, P1)x4, SK2TP, (P1, K1)x4, M1F, P9, B3
Row 27: B3, K9, P1, (P1, K1)x3, P2Tog, P1, P2Tog-b, (K1, P1)x3, P1, K9, B3
Row 28: B3, P9, K1, M1F, (K1, P1)x3, SK2TP, (P1, K1)x3, M1F, K1, P9, B3
Row 29: B3, K9, P3, K1, P1, K1, P2Tog, P1, P2Tog-b, K1, P1, K1, P3, K9, B3
Row 30: B3, P7, BC2, (K1, P1)x2, SK2TP, (P1, K1)x2, FC2, P7, B3
Row 31: B3, K7, P2, M1P, K1, P1, K1, P2Tog, P1, P2Tog-b, K1, P1, K1, M1P, P2, K7, B3
Row 32: B3, P7, K2, P3, K1, P1, SK2TP, P1, K1, P3, K2, P7, B3
Row 33: B3, K7, P2, M1P, K2, P2Tog, P1, P2Tog-b, K2, M1P, P2, K7, B3
Row 34: B3, P7, K2, P4, M1F, SK2TP, M1F, P4, K2, P7, B3
Row 35: B3, K7, P2, K4, P3, K4, P2, K7, B3
Row 36: B3, P7, K2Tog, P4, FC3, P3, SSK, P7, B3
Row 37: B3, K11, P3, K13, B3
Row 38: B3, P13, K1, M1F, K1, M1F, K1, P11, B3
Row 39: B3, K11, P5, K13, B3
Row 40: B3, P13, K5, P11, B3
Row 41: B3, K11, P2Tog, P1, P2Tog-b, K13, B3
Row 42: B3, P13, S2TK1P, P11, B3
Row 43: B3, K25, B3
Row 44: B3, P25, B3
Row 45: B3, K25, B3
Knit 4 rows Seed Stitch border.
Bind off. Weave in ends. Block.
NOTES:
B3 = 3 stitch border of your choice (I used seed stitch for my border in the cloth above, K1, P1, K1)
BC2 (back cross, worked on 4 stitches) = Slip 2 stitches onto CN & hold in back. Knit 2 stitches, then purl 2 stitches from CN.
CN = cable needle
FC (front cross, worked on 2 stitches) = Slip 1 stitch onto CN and hold in front. Purl 1 stitch, then knit 1 stitch from CN.
FC2 (front cross, worked on 4 stitches) = Slip 2 stitches onto CN & hold in front. Purl 2 stitches, then knit 2 stitches from CN.
FC3 (front cross, worked on 4 stitches) = Slip 3 stitchen onto CN & hold in front. Purl 1 stitch, then knit 3 stitches from CN.
K1-b (Knit 1 through back loop) = Insert needle into the back loop of the stitch and knit it.
Also known as "k tbl", video for how this is done is here
http://www.knittinghelp.com/knitting/abbreviations_explained/
K2TOG = Knit 2 stitches together.
http://www.knittinghelp.com/knitting/basic_techniques/decrease.php
M1 (Increase 1 stitch: taking 1 stitch to create 1 more stitch, resulting in 2 stitches total) is done as follows:
1. Knit into the back of the stitch in the row below the 1st stitch on the left needle.
2. knit into the front of the 1st stitch on the left needle.
M1F (Make One Front) = Left the running thread between the stitch just worked and the next stitch, and knit into the back of this stitch.
Video for M1F is on Knitting Help here: http://www.knittinghelp.com/knitting/basic_techniques/increase.php
M1P (Make One Purl. Increase 1 stitch: taking 1 stitch to create 1 more stitch, resulting in 2 stitches total) is done as follows:
1. Purl the stitch in the row below the first stitch on the left needle.
2. Purl into the first stitch on the left needle.
M2 (Double increase: taking 1 stitch to create 2 more stitches, resulting in 3 stitches total) is done as follows:
1. K1-b (leaving stitch on the left needle)
2. K1 into front of the same stitch
3. Now insert your left needle point behind the vertical strand that runs downwards from between the 2 stitches just made, and K1-b into this strand to make the 3rd stitch of the group.
P1-b (Purl 1 through back loop) = Insert needle into back loop from left to right and purl it.
Video is on Knitting Help under "p tbl" here: http://www.knittinghelp.com/knitting/abbreviations_explained/
P2Tog-b (Purl 2 together through back loop) = same as P1-b except you work it on 2 stitches.
P2Tog = Purl 2 stitches together
VIdeo is on Knitting Help under "p2tog" here:
http://www.knittinghelp.com/knitting/abbreviations_explained/
Seed Stitch = K1, P1 across row, end with K1
SSK = slip 1 stitch, slip 1 stitch, knit these two slipped stitches together
http://www.knittinghelp.com/knitting/basic_techniques/decrease.php
S2TK1P (Slip 2 Together, Knit 1, Pass over) is done as follows:
1. Slip 2 stitches together as if to K2Tog. (Viz, both stitches together, not one at a time)
2. Knit 1 stitch.
3. Pass the 2 slipped stitches (from step #1) over the knitted stitch (from step #2).
SK2TP (Slip 1, Knit 2 Together, Pass over) is done as follows:
1. Slip 1 stitch.
2. Knit 2 stitches together.
3. Pass the slipped stitch over.
(I think this is more commonly known as SK2P. I need that extra "T" as a visual reminder to myself that I'm knitting 2 stitches together. It's one of my beginner knitter quirks. You can see a video for how to do SK2P on this site here.)
http://www.knittinghelp.com/knitting/abbreviations_explained/
Instructions in parentheses followed by x mean you do what is in the parentheses the number of times indicated after "x". For example:
(K1, P1)x2 means you do: K1, P1, K1, P1.
(P1, K1)x2 means you do: P1, K1, P1, K1.
(M1F, K1)x4 means you do: M1F, K1, M1F, K1, M1F, K1, M1F, K1.
.


of Cable Scarves")


9 stitch(es):
That's a great turtle, Maire! I think you should make a back too and turn it into a little purse for your DD! She'd love it!
Les
Very cute! I love turtles, This would be cute in a childs' gift basket with some soap or bubble bath as a wash cloth too.
What a great turtle pattern. My daughter loves turtles and will love this cloth. Thanks for sharing and visit my blog at knitinggal.blogspot.com Thanks!
I have not seen a dishcloth like this. I LOVE it. I'm making a bunch of cloths for my friend and this turtle one is so perfect. Thanks!
Thank you so much for sharing your dishcloth patterns! I wish you many returns!
Embossing rocks! I really like this look. I couldn't follow the instructions, however. Never could figure out how many stitches I was supposed to have. Hope you pursue this area and come up with some more great embossing poatterns.
It is an AWESOME TURTLE!!!
THANK YOU VERY MUCH!
I love it. I think I can use it for a boy sweater. Recently I was looking for patterns to make original figures for boys sweaters and I really love this one.
I want to hug you!!
Congratulations
Thanks a lot for this GREAT Pattern!
They are verry Cute!
Thanks a lot for this GREAT Pattern!
They are verry cute!
You can see my Dishclotht this way:
http://anjasworld.blogspot.com/2008/08/embossed-turtle-dishcloth.html
Greetings from Switzerland
Post a Comment